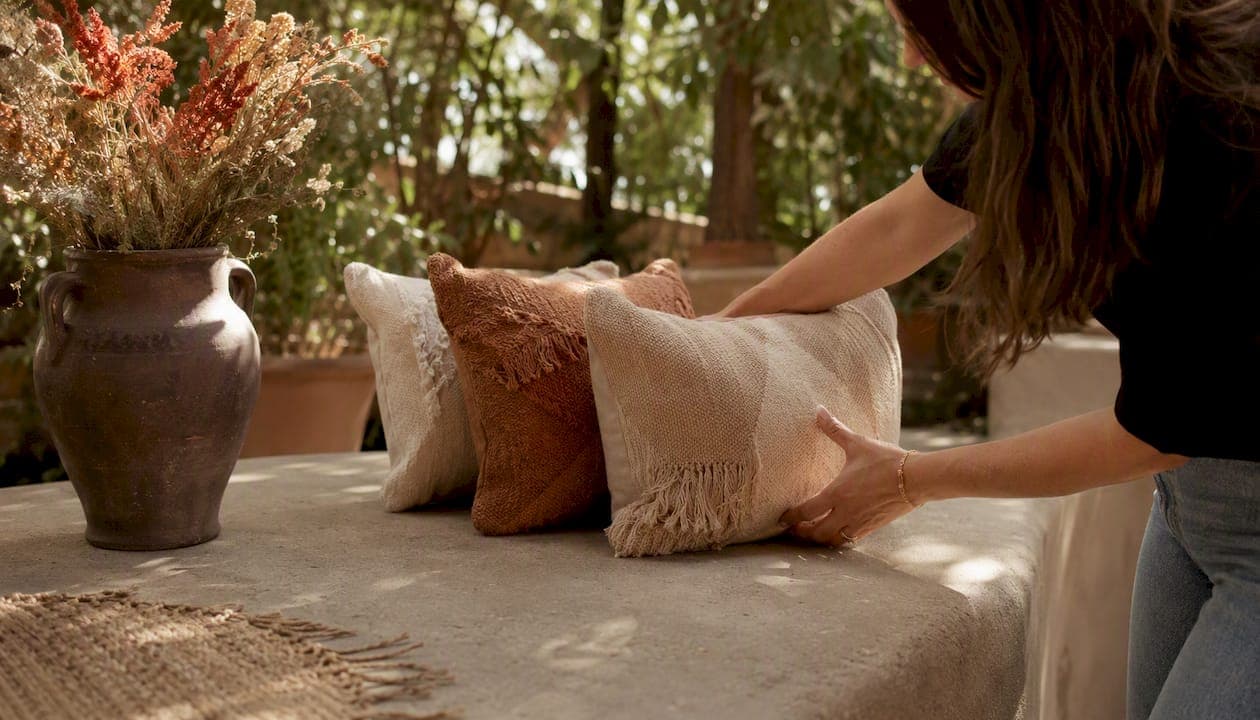
A ready-to-use handcrafted decor client presentation checklist gives every meeting a clear spine: cover slide with project name and date, a one-sentence client "why," space-by-space visual layouts, item-level slides with high-res photos and maker provenance, a physical sample tray, a commissioning brief summary, timeline and payment milestones, and a signed next-steps page. Keep the deck to 8–12 pages, number every page, and prepare three formats: a printed bound copy, a PDF for email, and a labeled sample tray that travels with the deck. Where Createdecorus pieces appear, include the maker's name, region, and a short provenance note on the item slide.
One-page template items to carry into every meeting:
- Cover slide: project name, client name, date, page 1
- Client "why" slide: goals in the client's own words, page 2
- Space-by-space layouts: scaled plans and hero renderings, pages 3–5
- Item slides (one per key piece): photo, dimensions, materials, maker/provenance, care note, pages 6–9
- Sample tray callout: labeled swatches and strike-offs keyed to item slides
- Timeline and budget summary, page 10
- Commissioning brief snapshot, page 11
- Next steps and sign-off, page 12
Key Takeaways
A complete handcrafted decor client presentation checklist covers the client "why," curated visual layouts, item-level maker provenance, a physical sample plan, a signed commissioning brief, and a clear timeline with payment milestones.
| Point | Details |
|---|---|
| Lead with the client's "why" | Open every presentation with the client's own goals to build trust before showing any product. |
| One slide per handcrafted item | Include a high-res photo, dimensions, materials, maker provenance, and a care note on each item slide. |
| Curate three options maximum | Present one recommended default plus two alternatives to speed approvals without removing client agency. |
| Sign the brief before production | Capture reference images, exact measurements, material specs, and prototype cost responsibility at the meeting. |
| Createdecorus trade resources | Request a sample pack and provenance documentation from Createdecorus to complete your presentation tray. |
Table of Contents
- What storytelling flow keeps clients engaged and reduces decision fatigue?
- Slide-by-slide checklist for handcrafted decor presentations
- How to draft a commissioning brief the client can review and approve
- How do you curate options so clients decide quickly without losing creative control?
- Logistics checklist: timeline, costs, shipping, and installation
- How to verify cultural authenticity and provenance for handcrafted pieces
- When should you use workshop visits, strike-offs, and prototypes?
- How Createdecorus approaches handcrafted luxury decor presentations
- Createdecorus trade resources for your next client presentation
- Sources
What storytelling flow keeps clients engaged and reduces decision fatigue?
The most effective sequence moves from emotional resonance to practical detail: client "why" first, then visuals, then craft specifics, then logistics. Starting with the client's story before showing any product lowers resistance and makes every subsequent choice feel like a natural extension of their own vision.
Follow this slide sequence:
- Cover slide. Project name, date, designer name, page number.
- Client "why" slide. Three to five bullet points drawn verbatim from the client's intake notes. Their words, not yours.
- Mood and palette. Two to three images that establish the emotional register of the space.
- Space-by-space layouts. One slide per room: scaled furniture plan plus one hero rendering.
- Handcrafted item introductions. A single "craft story" slide that explains why handmade pieces belong in this project.
- Item-level slides. One slide per key piece (see the next section).
- Sample tray moment. A slide that cues the physical sample review.
- Commissioning brief summary. Key measurements, materials, and maker details.
- Timeline and costs. Milestones, lead times, payment schedule.
- Next steps and sign-off. Clear actions, owner names, and signature lines.
Label every slide with the project name and page number in the footer. Use one consistent font pairing and a muted palette that does not compete with the decor photography. Keeping each slide to a single message and maintaining consistent typography throughout signals professionalism before a client reads a word.
Pro Tip: On slide 2, paste the client's exact phrases from your intake call. Seeing their own language reflected back builds trust immediately and makes the design choices that follow feel inevitable rather than imposed.
Slide-by-slide checklist for handcrafted decor presentations
Organized, templated decks paired with physical material trays consistently reduce client overload and turn presentations into collaborative working sessions rather than approval gauntlets.
Cover and recap slides:
- Project name, client name, presentation date, page number
- One-sentence project "why" on the recap slide
- Designer contact and revision number
Space-by-space visual slides:
- Scaled furniture plan (1/4" = 1' minimum) with handcrafted pieces called out
- One hero rendering per room showing the piece in context
- Accent piece placement notes tied to scale and sightlines
Item-level slides (one per handcrafted piece):
- High-resolution photo on a neutral background, minimum 1920px wide
- Scale diagram showing dimensions against a human figure or adjacent furniture
- Materials list: fiber content, dye method, fill, finish
- Maker/provenance statement: maker name, region, technique, and community context
- Care and repair note: cleaning method, recommended repair contact
- Swatch or strike-off reference number keyed to the sample tray
Sample tray choreography:
- Bring one labeled sample per key material (fabric, fill, trim)
- Separate sign-off samples (client initials required) from reference samples
- Introduce the tray after the item slides, never before, so context precedes touch
For print versions, bind the deck with tabs at each room section. For digital, export as a single PDF with bookmarks. A unique handcrafted pieces guide can supplement the deck as a client leave-behind.
How to draft a commissioning brief the client can review and approve
A clear brief is the single greatest protection against misalignment between what a client approves in the room and what arrives months later. A well-structured brief includes reference images, exact measurements, material specifications, a stated budget range, and realistic lead times for each category of work.
Brief elements to capture and present:
- Reference images (minimum three, annotated with specific details the client likes)
- Exact finished dimensions: width, depth, height, and any tolerance range
- Material preferences: fiber, weave, fill weight, surface finish, colorway
- Usage context: traffic level, sunlight exposure, cleaning frequency
- Budget range per piece, including acceptable overage for prototype iterations
- Approval milestones: sample approval, prototype sign-off, final sign-off
- Prototype cost responsibility: who covers the cost of a failed first sample
Present the brief as a one-page form the client signs at the end of the meeting. Three milestone signatures keep commissions on track: sample approval (before production begins), prototype sign-off (before full production), and final delivery acceptance.
Pro Tip: Leave deliberate white space in the brief for the maker's interpretation. Specifying every detail removes the craft expertise you are paying for. Define the outcome clearly; let the maker own the method.
A clear project brief also protects the designer legally, establishing scope before any deposit changes hands.
How do you curate options so clients decide quickly without losing creative control?
Present one recommended default plus two alternatives, never more. Curating a focused selection of three options reduces decision paralysis and speeds approvals without making clients feel their choices were made for them.
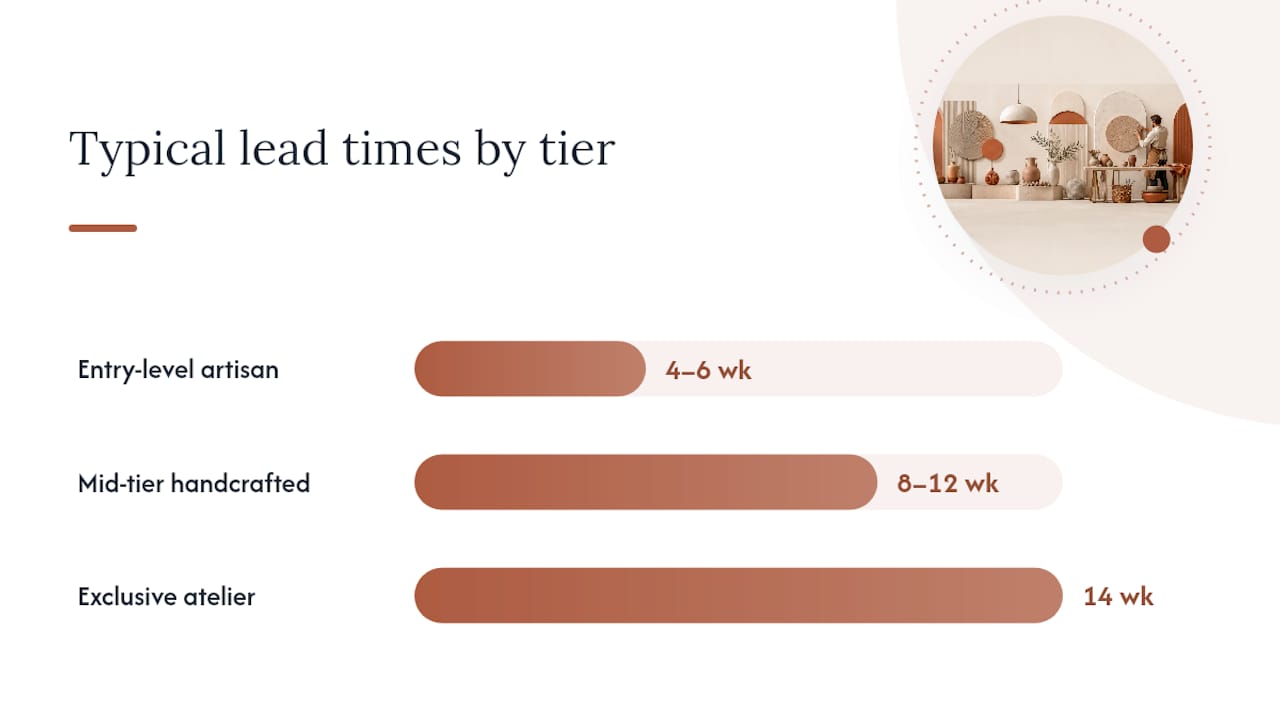
| Sample tier | Texture profile | Typical lead time | Relative cost |
|---|---|---|---|
| Entry-level artisan sample | Smooth, uniform weave | 4–6 weeks | Lower |
| Mid-tier handcrafted sample | Varied texture, hand-dyed | 8–12 weeks | Mid-range |
| Exclusive atelier sample | Intricate embroidery or weave | 14 weeks | Premium |
Label each option in client-facing language, not trade language. "Ages beautifully with use" communicates more than "develops patina." "Low-maintenance fiber" lands better than "solution-dyed acrylic."
On each item slide, include:
- A "Designer's Pick" badge on the recommended option
- One-line pros and cons for each alternate
- A simple prompt: "Which of these feels most like you?"
Logistics checklist: timeline, costs, shipping, and installation
Veranda's commissioning guidance frames lead time as a deliberate trade-off for handcrafted quality, not a delay. Set that expectation at the first meeting, and build it into the timeline slide.
| Milestone | Owner | Timing |
|---|---|---|
| Brief signed | Designer + client | Day 1 |
| Sample approval | Client | Weeks 2–4 |
| Prototype sign-off | Client | Weeks 6–10 |
| Production begins | Maker | After prototype sign-off |
| Shipping and delivery | Designer | Per maker lead time |
| Installation | Designer | Per site schedule |
Payment schedule template:
- 50% deposit at brief signing
- 25% at prototype sign-off
- 25% on delivery and installation acceptance
Shipping and installation notes:
- Confirm crate dimensions and delivery route access before production
- Note any in-home assembly requirements on the logistics slide
- Document who covers rush fees or rework costs in the brief
Contingency planning belongs in the brief, not in a post-problem conversation. State clearly that experimental prototypes are covered by the designer's contingency budget, and that client-initiated changes after prototype sign-off carry a change-order fee.
How to verify cultural authenticity and provenance for handcrafted pieces
Respectful attribution is not a formality. It is the foundation of the story you are telling your client, and it protects both the maker and the designer.
Provenance checklist for each culturally derived piece:
- Maker's full name and workshop location (city, state, country)
- Documented maker history: years of practice, technique lineage, community affiliation
- At least two workshop photographs showing the maker at work
- Technique description: name of the craft tradition, regional origin, and whether the design is community-sourced or the maker's own
- Material origin statement: where fibers, dyes, or materials are sourced
- Attribution language approved by the maker for use in client-facing materials
On item slides, use a short "Maker Voice" block: one or two sentences in the maker's own words (translated if needed) about the piece. This transforms a product description into a human story. For Mexican artisan heritage pieces, the cultural context deepens the client's connection to the work.
Pro Tip: When a piece draws from a specific regional tradition, ask the maker to record a short video message. Playing it during the presentation creates a moment of genuine connection that no slide can replicate.

When should you use workshop visits, strike-offs, and prototypes?
Physical samples and workshop visits materially reduce post-installation regret. A client who has touched the material and seen the workshop rarely disputes the final piece.
- Decide which items need full-size prototypes. Any piece larger than a throw pillow, or any piece with a complex technique, warrants a prototype before full production.
- Schedule strike-offs early. Order a fabric or material strike-off at the brief stage, not after production begins.
- Test samples in the installation lighting. A physical sample placed in the actual room under the project's lighting is the definitive tool for confirming color, texture, and scale. Screen renderings cannot replicate this.
- Plan the workshop visit. Commissioning bespoke interiors commonly involves workshop visits, multiple supplier touchpoints, and repeated client-maker conversations. Invite the client when the relationship and timeline allow.
- Photograph everything at the workshop. Capture materials, tools, work in progress, and quality-control checkpoints. These images feed directly into the provenance slides.
- Budget for two to three sample iterations. One iteration is optimistic; three is realistic for complex handcrafted pieces.
How Createdecorus approaches handcrafted luxury decor presentations
We have built our trade program around the reality that designers need more than beautiful objects. They need the documentation, samples, and provenance materials that make a client presentation feel complete and credible.
Every Createdecorus piece comes with a maker provenance statement, material origin documentation, and care instructions formatted for client-facing use. Our trade pricing and wholesale program gives designers access to sample packs they can place directly into presentation trays, labeled and ready for client review. The maker photographs and workshop documentation we provide are designed to drop into an item slide without additional research.
When you present a Createdecorus pillow or ottoman, you are presenting a dialogue between artisan heritage and contemporary design, crafted with pride in Mexico and supported by the kind of documentation that luxury clients expect.
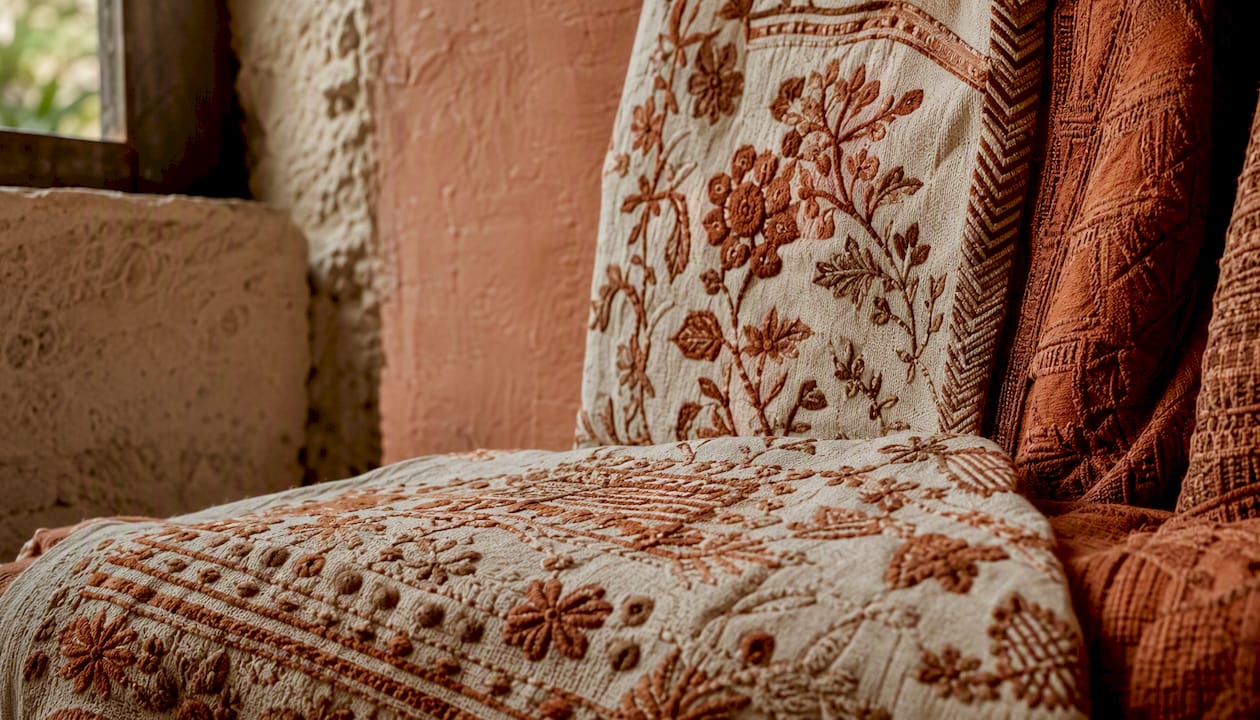
Pro Tip: Request a Createdecorus trade sample pack before your presentation meeting. The physical pieces, paired with our provenance cards, give clients something to hold while you walk through the item slides, which shortens the approval cycle.
Createdecorus trade resources for your next client presentation
Createdecorus supports designers at every stage of the presentation process. Our handcrafted luxury pillows and accents ship with provenance documentation, care guides, and maker photography ready for your deck. The wholesale trade program offers sample packs, trade pricing, and the kind of maker-sourced materials that turn a good presentation into a memorable one.
To request a trade kit or sample tray, visit our wholesale page and complete the trade account application. Sample packs are available for designers preparing client presentations, and our team can provide custom provenance statements for specific pieces on request. A designer trade program like ours is built to make your client meetings run smoothly, from the first sample to the final sign-off.
Sources
- How to commission custom furniture — Veranda
- How to Ace Your Next Client Presentation - Faribai
- How to Brief a Custom Maker Perfectly - MakeNation
- 7 Interior Design Presentation Tips That Will Instantly Wow Clients
- 21 Presentation Design Tips For Success - Venngage